
Scroll to the end to see my TikTok video tutorial!
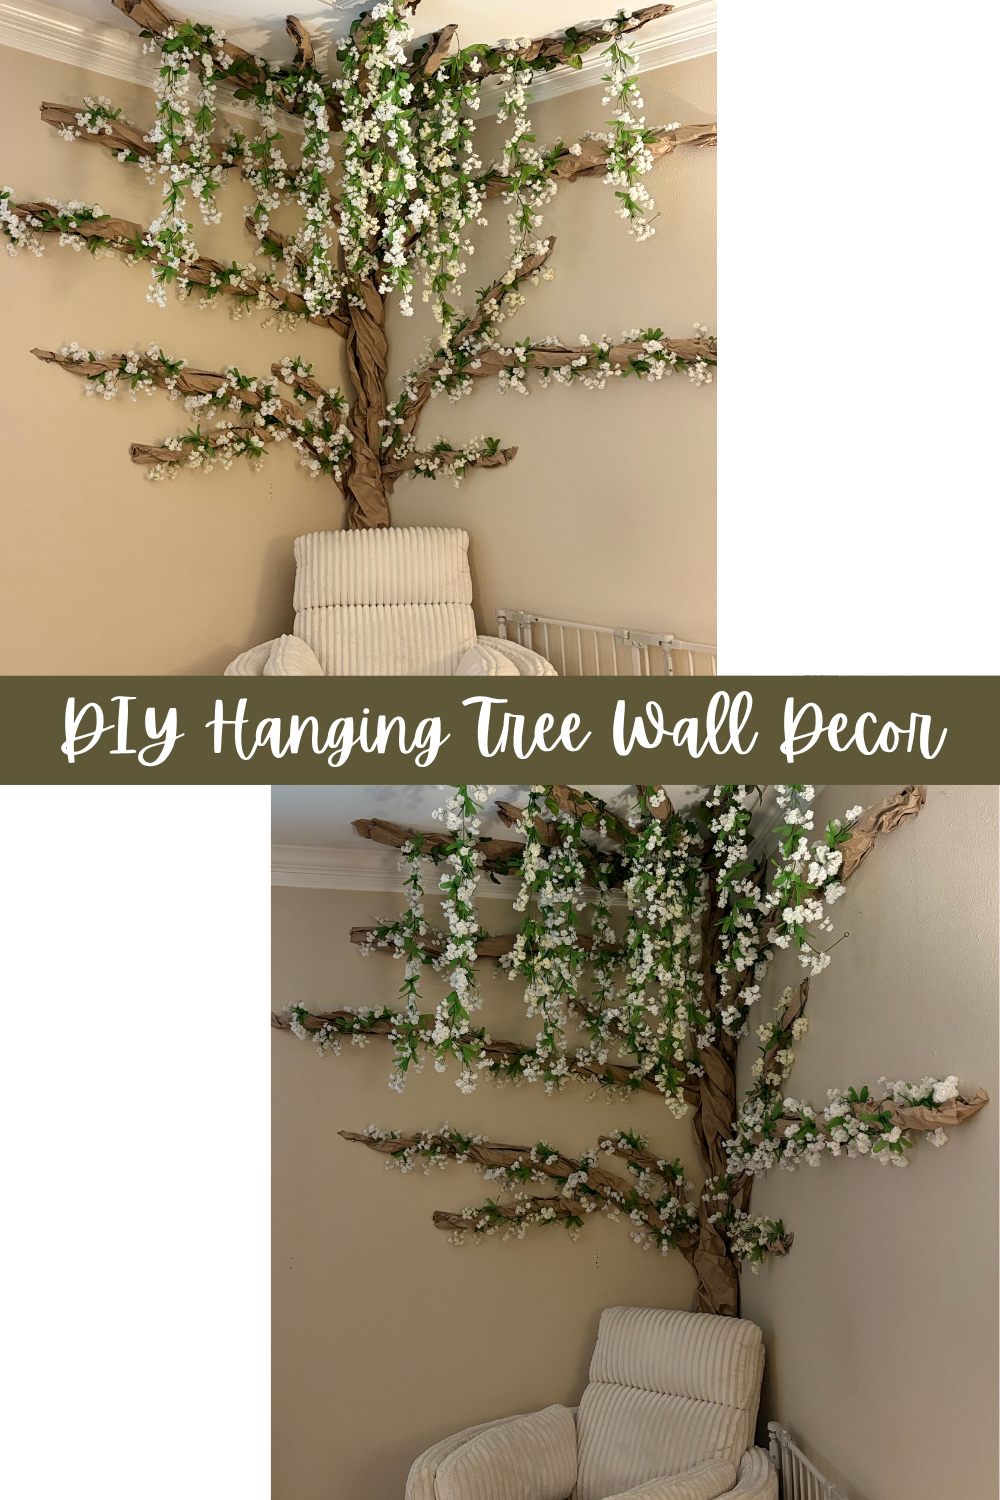
I recently made this DIY hanging tree wall decor for my in-home daycare and have received SO MANY compliments on it! It was honestly so cheap and easy to make I’m embarrassed to say. Right now, I have it placed in my infant area with my rocking chair in front of it. So when I’m feeding a baby their bottle, they have a gorgeous tree to look up at! Whether you want your tree in a nursery, child’s room, daycare, etc. I’m going to show you exactly how I made mine!
What You’ll Need
- Natural Kraft Roll Paper from Hobby Lobby (shown below)
- Any flower garland you choose (the one I used is listed below)
- Stapler
- Push pins (optional)
First, we need a trunk. Go ahead and get your paper and tear it to the length you want the trunk to be. Take that paper and twist it all the way down but be sure it’s not too tight, you want it to be semi-loose so the trunk will appear thicker. Repeat this process again, so now you will have 2 long pieces of twisted paper. Now, you are going to twist those 2 pieces of paper together. You can repeat the process again to get the trunk to your liking, but 2 pieces were enough for me.

This is the paper I used!
Now that you have long pieces of twisted paper laying on your floor, it’s time to staple them to the wall! Remember, less is more. You don’t want to have to take a million staples out of the wall when you decide you don’t want the tree anymore!
Congratulations! Now you have random pieces of kraft paper stapled to your wall! (don’t worry it’ll look pretty in a second.) We need branches now. To make those… you guessed it! Repeat the same process but this time, tear the paper to the length you want your branches to be. All branches are different lengths and widths, take this into consideration when tearing and twisting your paper. The amount of branches you make is completely up to you and the size of the space where your tree will be.
Go ahead and staple those to the wall. Make sure to hide the end pieces behind the trunk! I also made some of my branches curve a little which made it look more realistic. When you are stapling your branches to the wall, make sure to leave gaps between the staples! This is where we are going to feed our garland through later. If the staples are too close together, your garland will be too tight around the branch.
I stapled a few branches on my ceiling so I could have my garland hanging down (hence the name “hanging tree wall decor”) which made it look fuller. I also placed my ceiling branches (accidentally on purpose) around my A/C vent so it looks like my flowers are rustling in the outdoor breeze haha. This is optional though!
This is similar to the garland I used!

This is the fun part where everything starts to come together and look beautiful! Now that we have our trunk and branches stapled to the wall, it’s time to twist the garland around the branches, feeding them through the staples. I find this way being the easiest because the garland will stay in place without having to use glue or extra staples.
This was probably the trickiest part for me because it’s time consuming but you just have to work with it to get it the way you want. I found myself cutting the garland to fit a branch, taking staples out of the branches because they were too close together, using push pins to hold a few sections of the garland, and even taking some of the flowers off the garland so it didn’t look cluttered and bunched together. Like I said, just work with it.


Congratulations! You now have your hanging tree wall decor! Thank you SO much for making it to the end of this post! If you liked it and found it helpful, please comment and share!
You Might Also Like …